First, you need a few images .
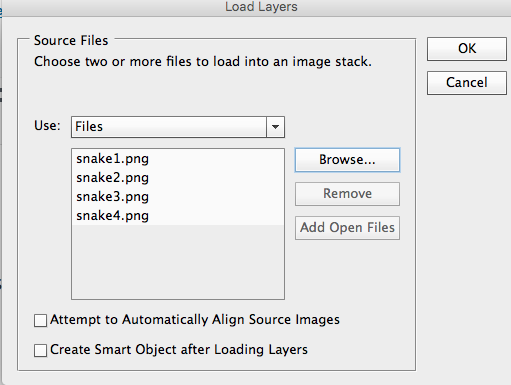
Second, open Photoshop and from the FILE menu pick SCRIPTS and the LOAD FILES INTO STACK. Select your files and then click OK
The timeline window is probably already open at the bottom of your Photoshop window. If you don’t see it, go to the WINDOW menu and click on TIMELINE. See that little box that says CREATE ANIMATION well, you could see it if the image was bigger. Anyway, click that.
From the SELECT menu (at the top of your screen) pick SELECT ALL LAYERS.
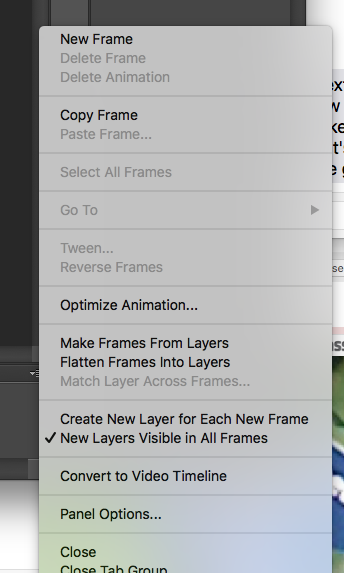
O n the far right of the timeline screen you’ll see a few lines and an arrow. You would totally miss it if you weren’t looking for it. Click on the arrow next to it and a menu will pop up.
From that menu, select CREATE NEW LAYER FOR EACH FRAME.
Next, from the same menu, select MAKE FRAMES FROM LAYERS
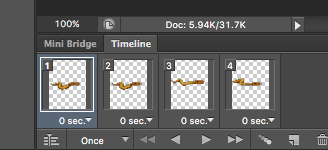
Now, you should see all of your images in the timeline window. I had four images so there are my four frames. Almost done!
 At the bottom is the number of times you want it to loop. By default, it’s set to 1. Pull that down and select FOREVER.
Under each frame is the delay between images. The shorter you make that, the faster the gif. I selected .2 seconds.
Go back to the FILE menu and select SAVE FOR WEB. (In the latest version of Photoshop this is found under the FILE menu under EXPORT and then SAVE FOR WEB)
Now you have your gif. Now, to move it across the screen, see tomorrow’s post.
—
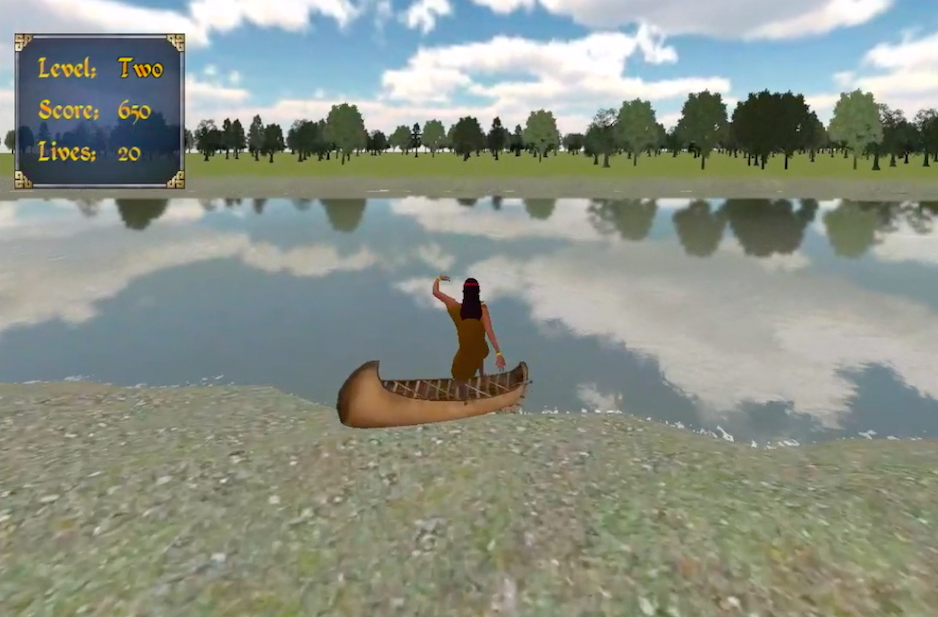
Buy Fish Lake, the game that uses my little snake friend. Under $10 for both Mac and Windows


